 マルコメ
f54d597563
マルコメ
f54d597563
## What?
Update examples `.gitignore` files for parity with [Yarn's official
recommendations](https://v3.yarnpkg.com/getting-started/qa#which-files-should-be-gitignored),
accounting for Yarn's modern Plug-n-Play functionality.

## Why?
New projects initialized with `create-next-app` presently add various
extraneous files from the Yarn cache to the initial commit. This is most
notable in the case of the Next SWC binary, which may exceed 100M in
some environments (empirically, 64-bit Darwin and WSL2 Ubuntu, and very
probably other unix/linux environments), and prevent users from pushing
their new projects to free GitHub repositories without rewriting the
commit history to exclude the extraneous files, or unnecessarily setting
up Git LFS to include them.

## How?
I have errored on the side of exclusion to enable users to push their
CNA projects to GitHub as-is and for parity with other package managers,
while still providing the opportunity to opt in to additional
functionality provided by modern Yarn.

These changes follow the recommendations for
**non**-[Zero-Install](https://yarnpkg.com/features/caching#zero-installs)
configurations, as Zero-Install functionality is an extension on top of
the base package manager experience, and may necessitate additional
configuration and present additional complications for unsuspecting
users, so I think it's best left up to the user to opt-in. On account of
the majority of publicly available Next.js-based projects comprising
general consumer-facing websites, it is my belief that the majority of
Next projects would not benefit from Yarn's Zero-Install functionality,
and that explicitly facilitating it by default would break status quo
with all other non-Yarn CNA projects.

Contrary to the example `.gitignore`s provided by Yarn, I've excluded
the `.yarn/sdks` directory as it contains IDE-specific tooling; I feel
it would be presumptuous for an environmentally-agnostic tool to target
and provide package-manager-specific tooling for specific editors. This
too should be left to the user to opt-in to and provide for their
project if they deem necessary.

I have retained the current `.gitignore`'s exclusion of the `/.pnp`
directory for backwards compatibility with older versions of Yarn (the
files therein have since been reallocated to the `.yarn` directory
addressed by these changes, but I am not clear on when that delineation
occurred or the prevalence of Yarn installations which depend on the
former convention). Maintaining the exclusion here, in the worst case,
implies additional downloads (on an order of magnitude merely similar to
using npm from the outset) rather than failure.

CC: @samcx

### Adding or Updating Examples

- [x] The "examples guidelines" are followed from our contributing doc
https://github.com/vercel/next.js/blob/canary/contributing/examples/adding-examples.md
- [x] Make sure the linting passes by running `pnpm build && pnpm lint`.
See
https://github.com/vercel/next.js/blob/canary/contributing/repository/linting.md

Co-authored-by: Sam Ko <sam@vercel.com>
A statically generated blog example using Next.js and Prepr
This example showcases Next.js's Static Generation feature using Prepr as the data source.
Demo
Check out our Blog page example:
- Live: https://next-blog-prepr.vercel.app/
- Preview: https://next-blog-prepr.vercel.app/api/preview...
How to use
Execute create-next-app with npm, Yarn, or pnpm to bootstrap the example:
npx create-next-app --example cms-prepr cms-prepr-app
yarn create next-app --example cms-prepr cms-prepr-app
pnpm create next-app --example cms-prepr cms-prepr-app
Configuration
Step 1. Set up Prepr
1.1 First, sign up for a Prepr account.
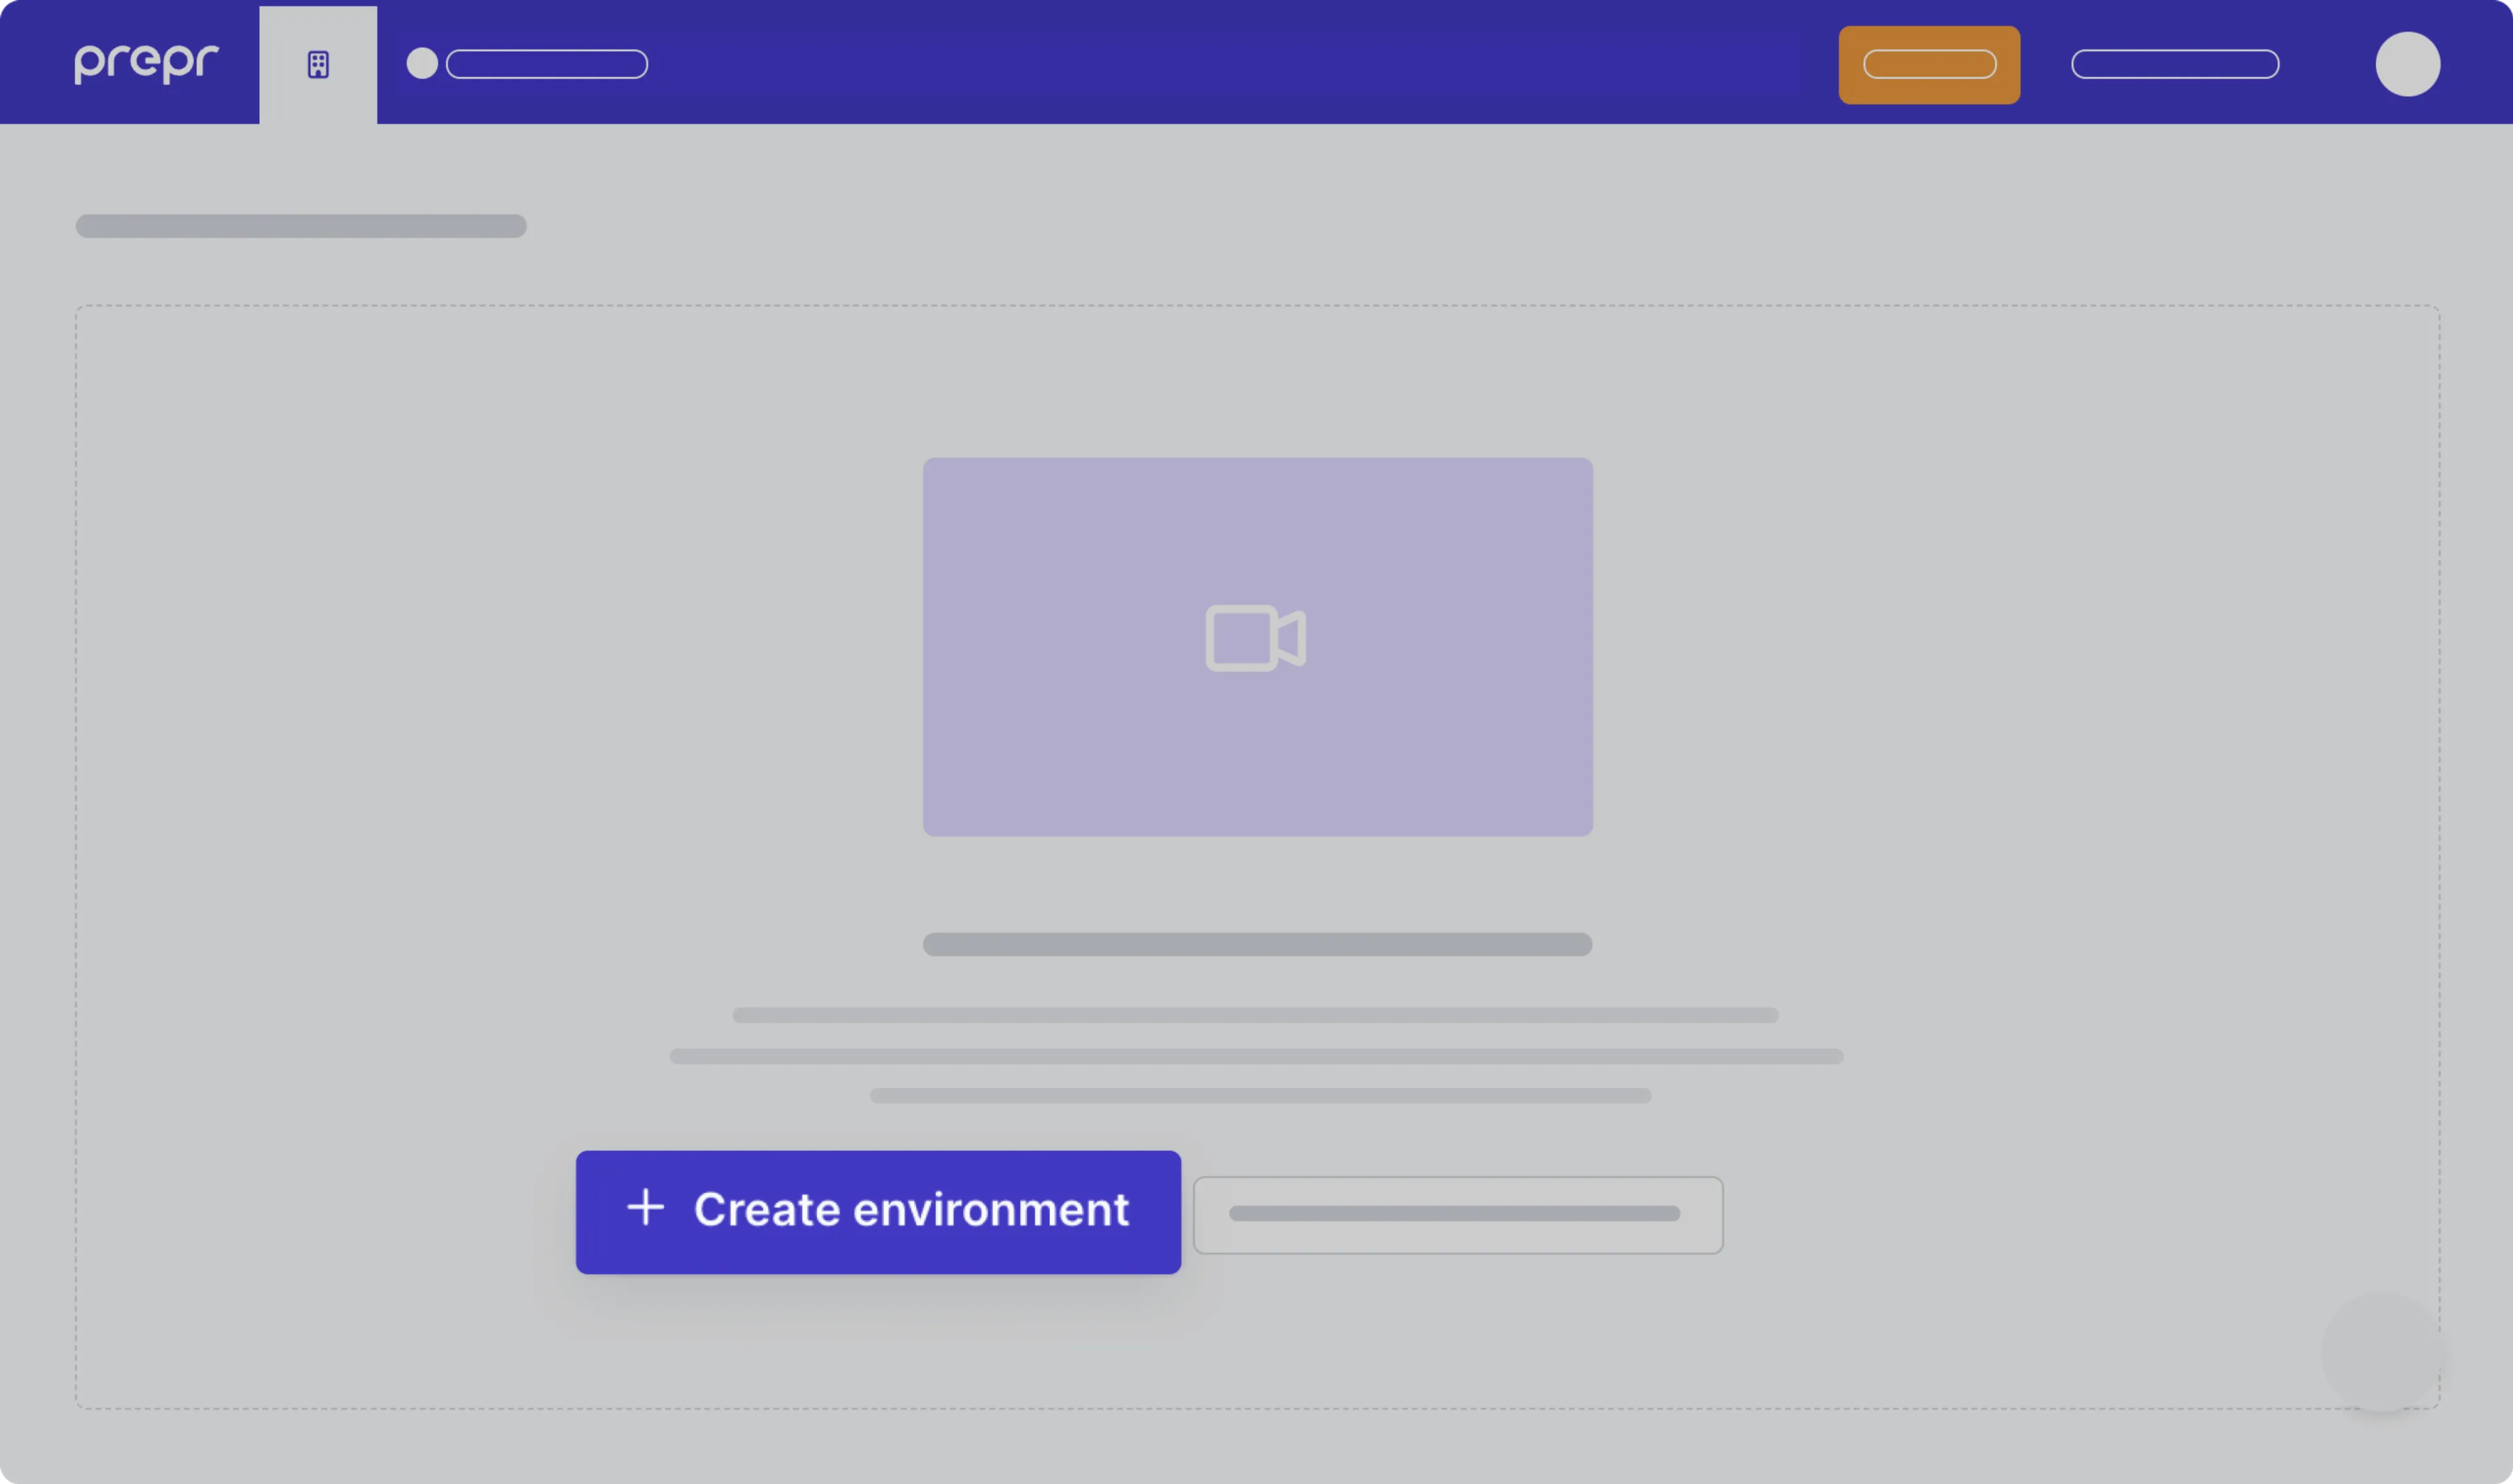
1.2 After you sign up, create a new environment in Prepr. For more details, check out the environment docs.
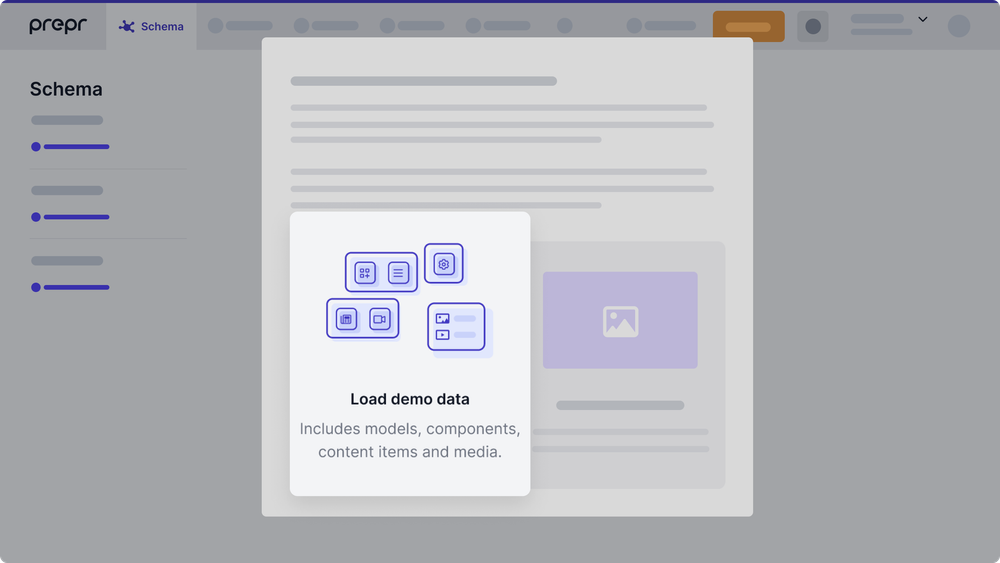
1.3 Once you’ve created the environment, choose to Load demo data. With that, Prepr will automatically upload sample models, content items, and other data you can use for your example Next.js app.
Step 2. Set up environment variables
Once you’ve set up your Prepr environment, you can define environment variables for your project. Please proceed with the steps below.
2.1 Run the following command to copy and rename the .env.local.example file as follows:
cp .env.local.example .env.local
The .env.local file will be ignored by Git.
2.2 In your environment, navigate to Settings > Access Tokens. You will see the automatically generated access tokens for your Prepr environment.
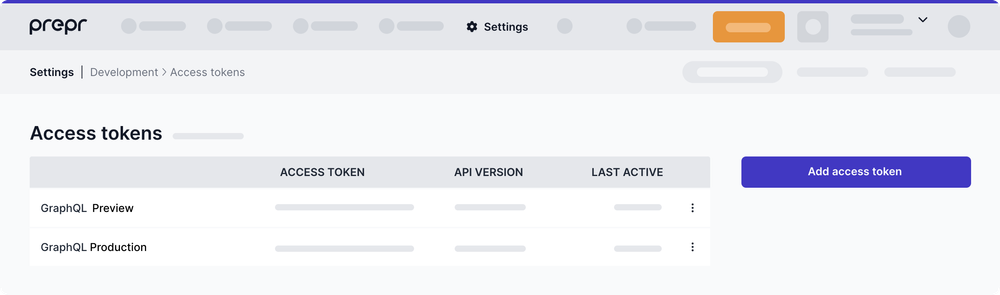
Copy the GraphQL Production access token and paste it as the PREPRIO_PRODUCTION_TOKEN variable in .env.local. Then copy and paste the GraphQL Preview access token as the PREPRIO_PREVIEW_TOKEN variable.
Alternatively, you can create access tokens yourself by clicking Add access token. If so, make sure to choose the right GraphQL permissions for the access tokens.
2.3 Set a custom value with no spaces as the PREPRIO_PREVIEW_SECRET variable, for example, a UUID. This value will be used to enable preview mode.
Once done, your .env.local file should look like this:
PREPRIO_API=https://graphql.prepr.io/graphql
PREPRIO_PRODUCTION_TOKEN='your Production access token'
PREPRIO_PREVIEW_TOKEN='your Preview access token'
PREPRIO_PREVIEW_SECRET='your secret id'
Step 3. Run Next.js in development mode
Now that you've finished preparing the project, you may proceed to run it.
3.1 Execute one of the following commands to install the packages listed in the package.json file:
npm install
yarn install
3.2 Execute one of the following commands to run the dev script defined in the package.json file:
npm run dev
yarn dev
Your example Blog website should be up and running on http://localhost:3000. If it doesn't work, please post on GitHub discussions.
Step 4. Optional: Try Preview mode
Great progress has been made! You are just a few steps away from getting your example website live. Before proceeding, you can test how the content preview works in Prepr. This step is optional. Proceed to Step 5 if you don’t want to use preview mode.
To try preview mode, follow these steps:
4.1 In Prepr, go to one of the content items of the Article model and update the item title. For example, you can add [PREVIEW] in front of the title. After you edit the content item, save it with the Review status.
4.2 To preview the content item, transform its URL to the following format:
http://localhost:3000/api/preview?secret=<PREPRIO_PREVIEW_SECRET>&slug=<SLUG_TO_PREVIEW>,
where:
<PREPRIO_PREVIEW_SECRET>is the same preview secret you defined in the.env.localfile;<SLUG_TO_PREVIEW>is the slug of the content item you want to preview.
Note: To exit the preview mode, you must click on Click here to exit preview mode at the top of the page.

Step 5. Deploy on Vercel
To make your Next.js app available online, deploy it to the cloud using Vercel. Vercel provides a user-friendly platform for deploying and managing web applications. For more information, please refer to the Next.js documentation.
You can go for one of the following options:
- Deploy your local project
To deploy your local project to Vercel, push it to GitHub/GitLab/Bitbucket and import it to Vercel.
Important: When you import your project on Vercel, make sure to click on Environment Variables and set them to match your .env.local file.
- Deploy from our template
Alternatively, you can deploy using our template by clicking on the Deploy button below.
Next steps
For more advanced topics, please refer to the Prepr’s documentation:
If you have questions, please get in touch with one of our specialists or join our Slack community.