 1097cc9c84
add chat channel images
add compilation docs
fixed incorrect section organization of agent docs
fixed duplicate text issues.
3.5 KiB
sidebar_position, title, sidebar_label, slug, sidebar_custom_props
| sidebar_position | title | sidebar_label | slug | sidebar_custom_props | ||
|---|---|---|---|---|---|---|
| 3 | Creation and Management | Creation and Management | /creation_and_management |
|
Creation and Management
Access Agent Page
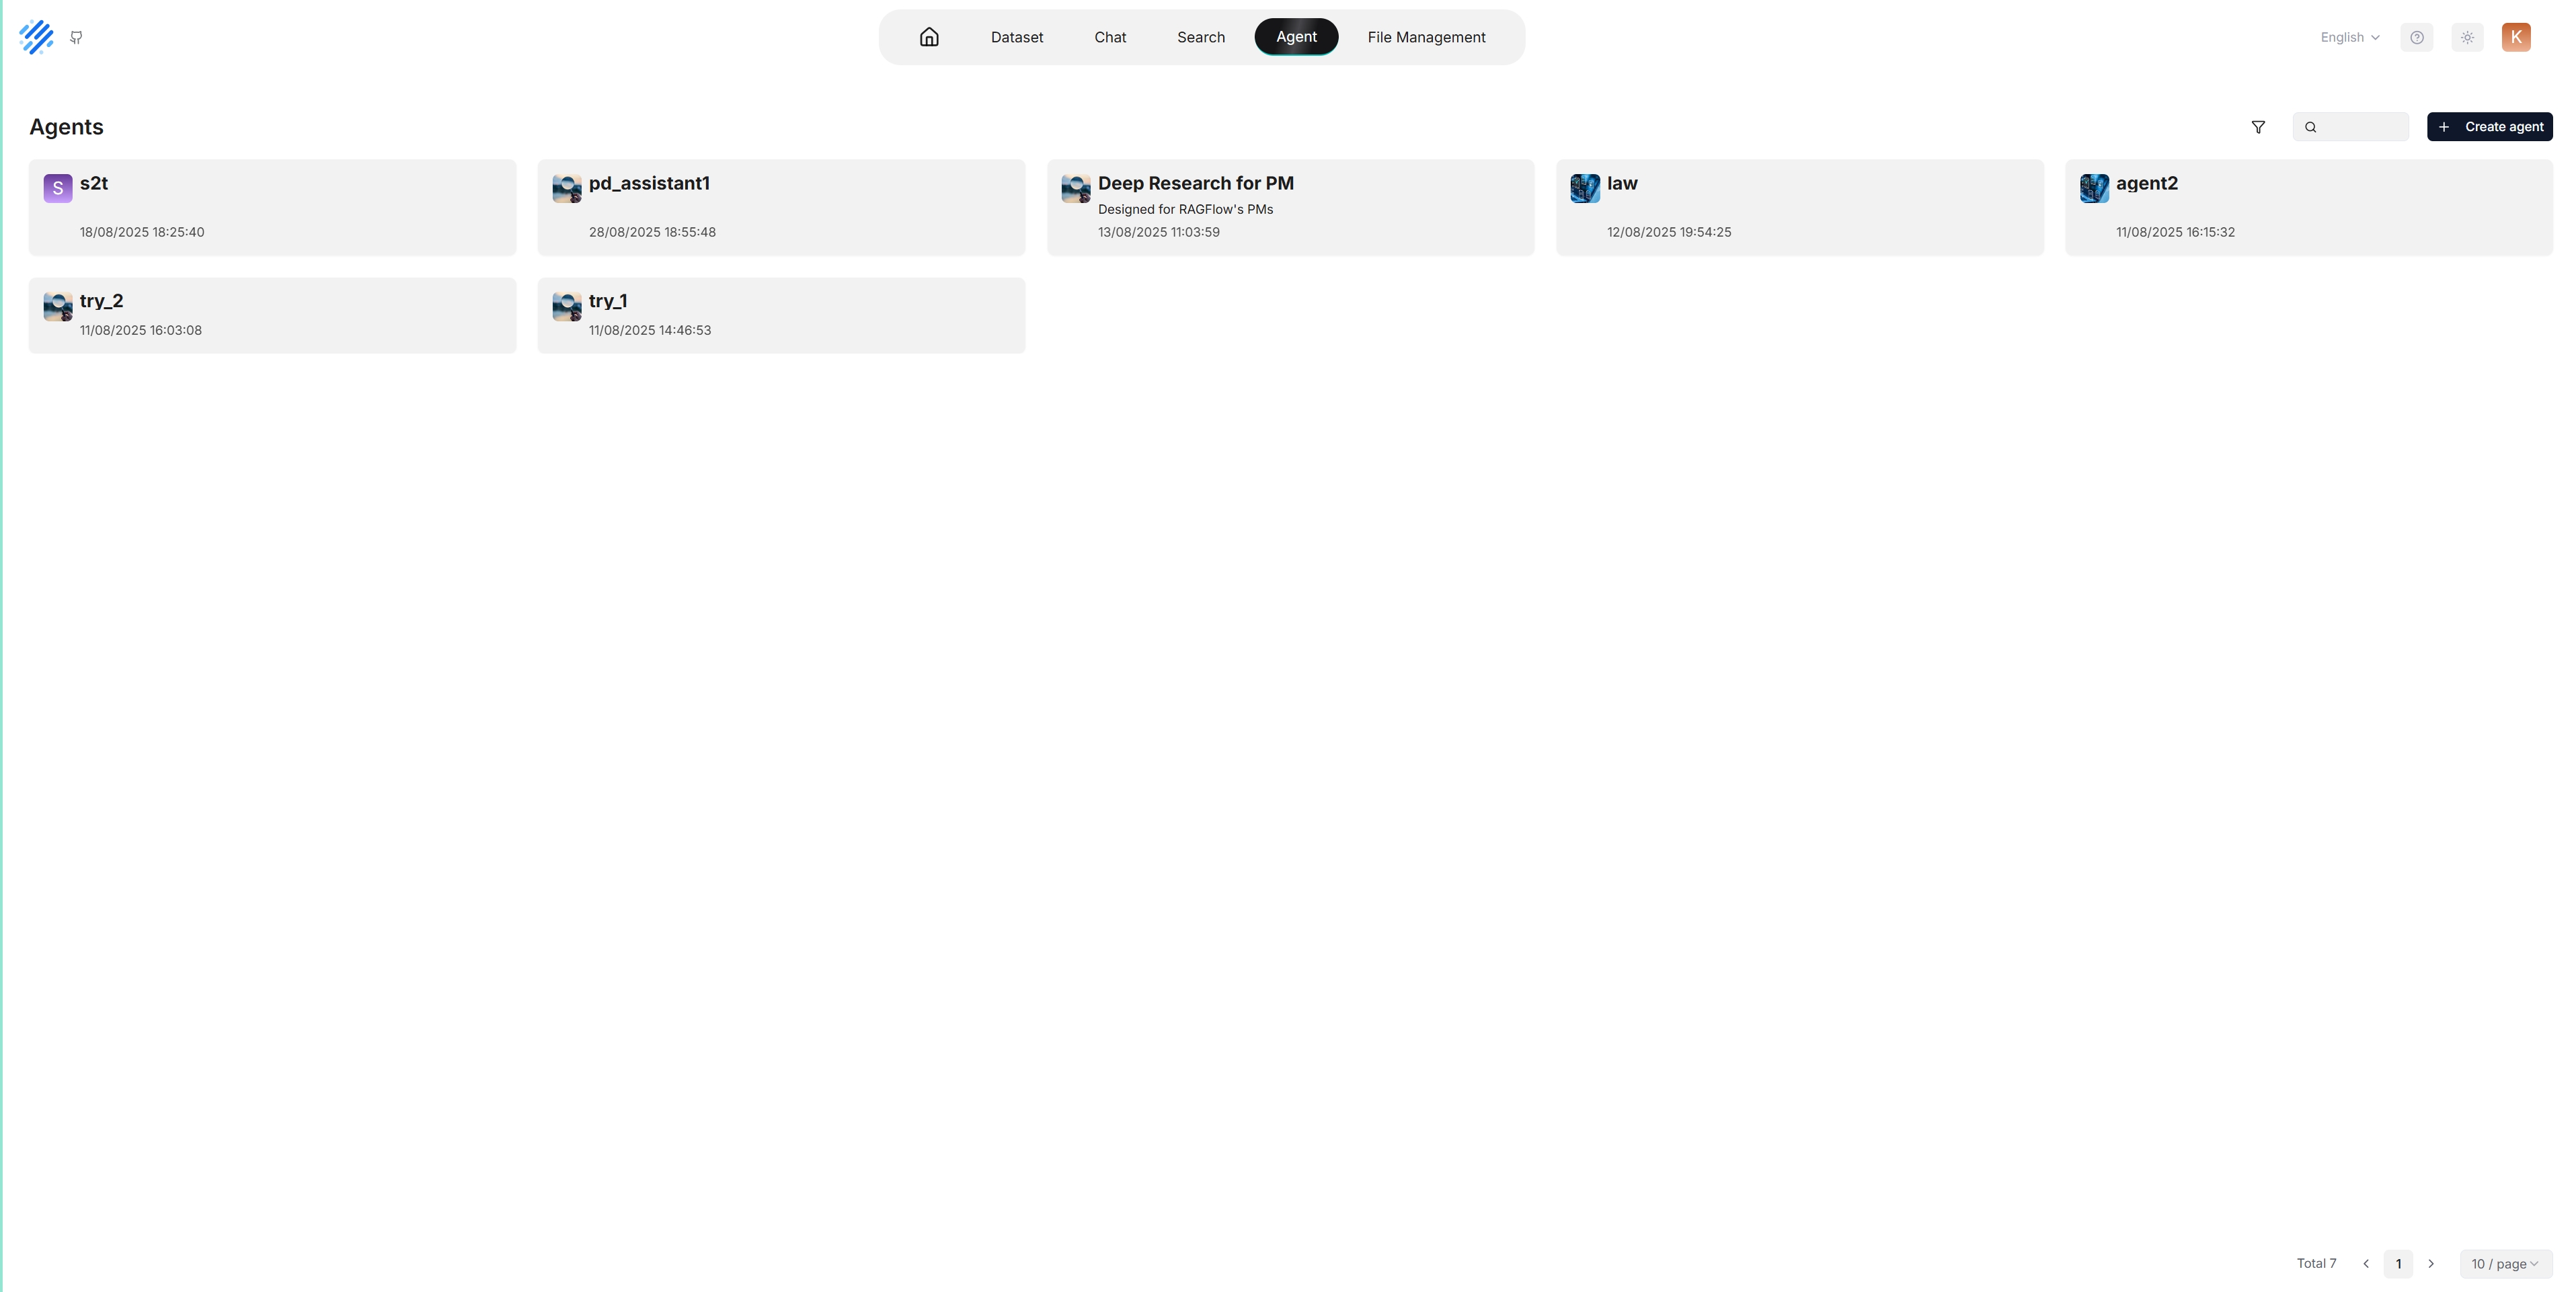
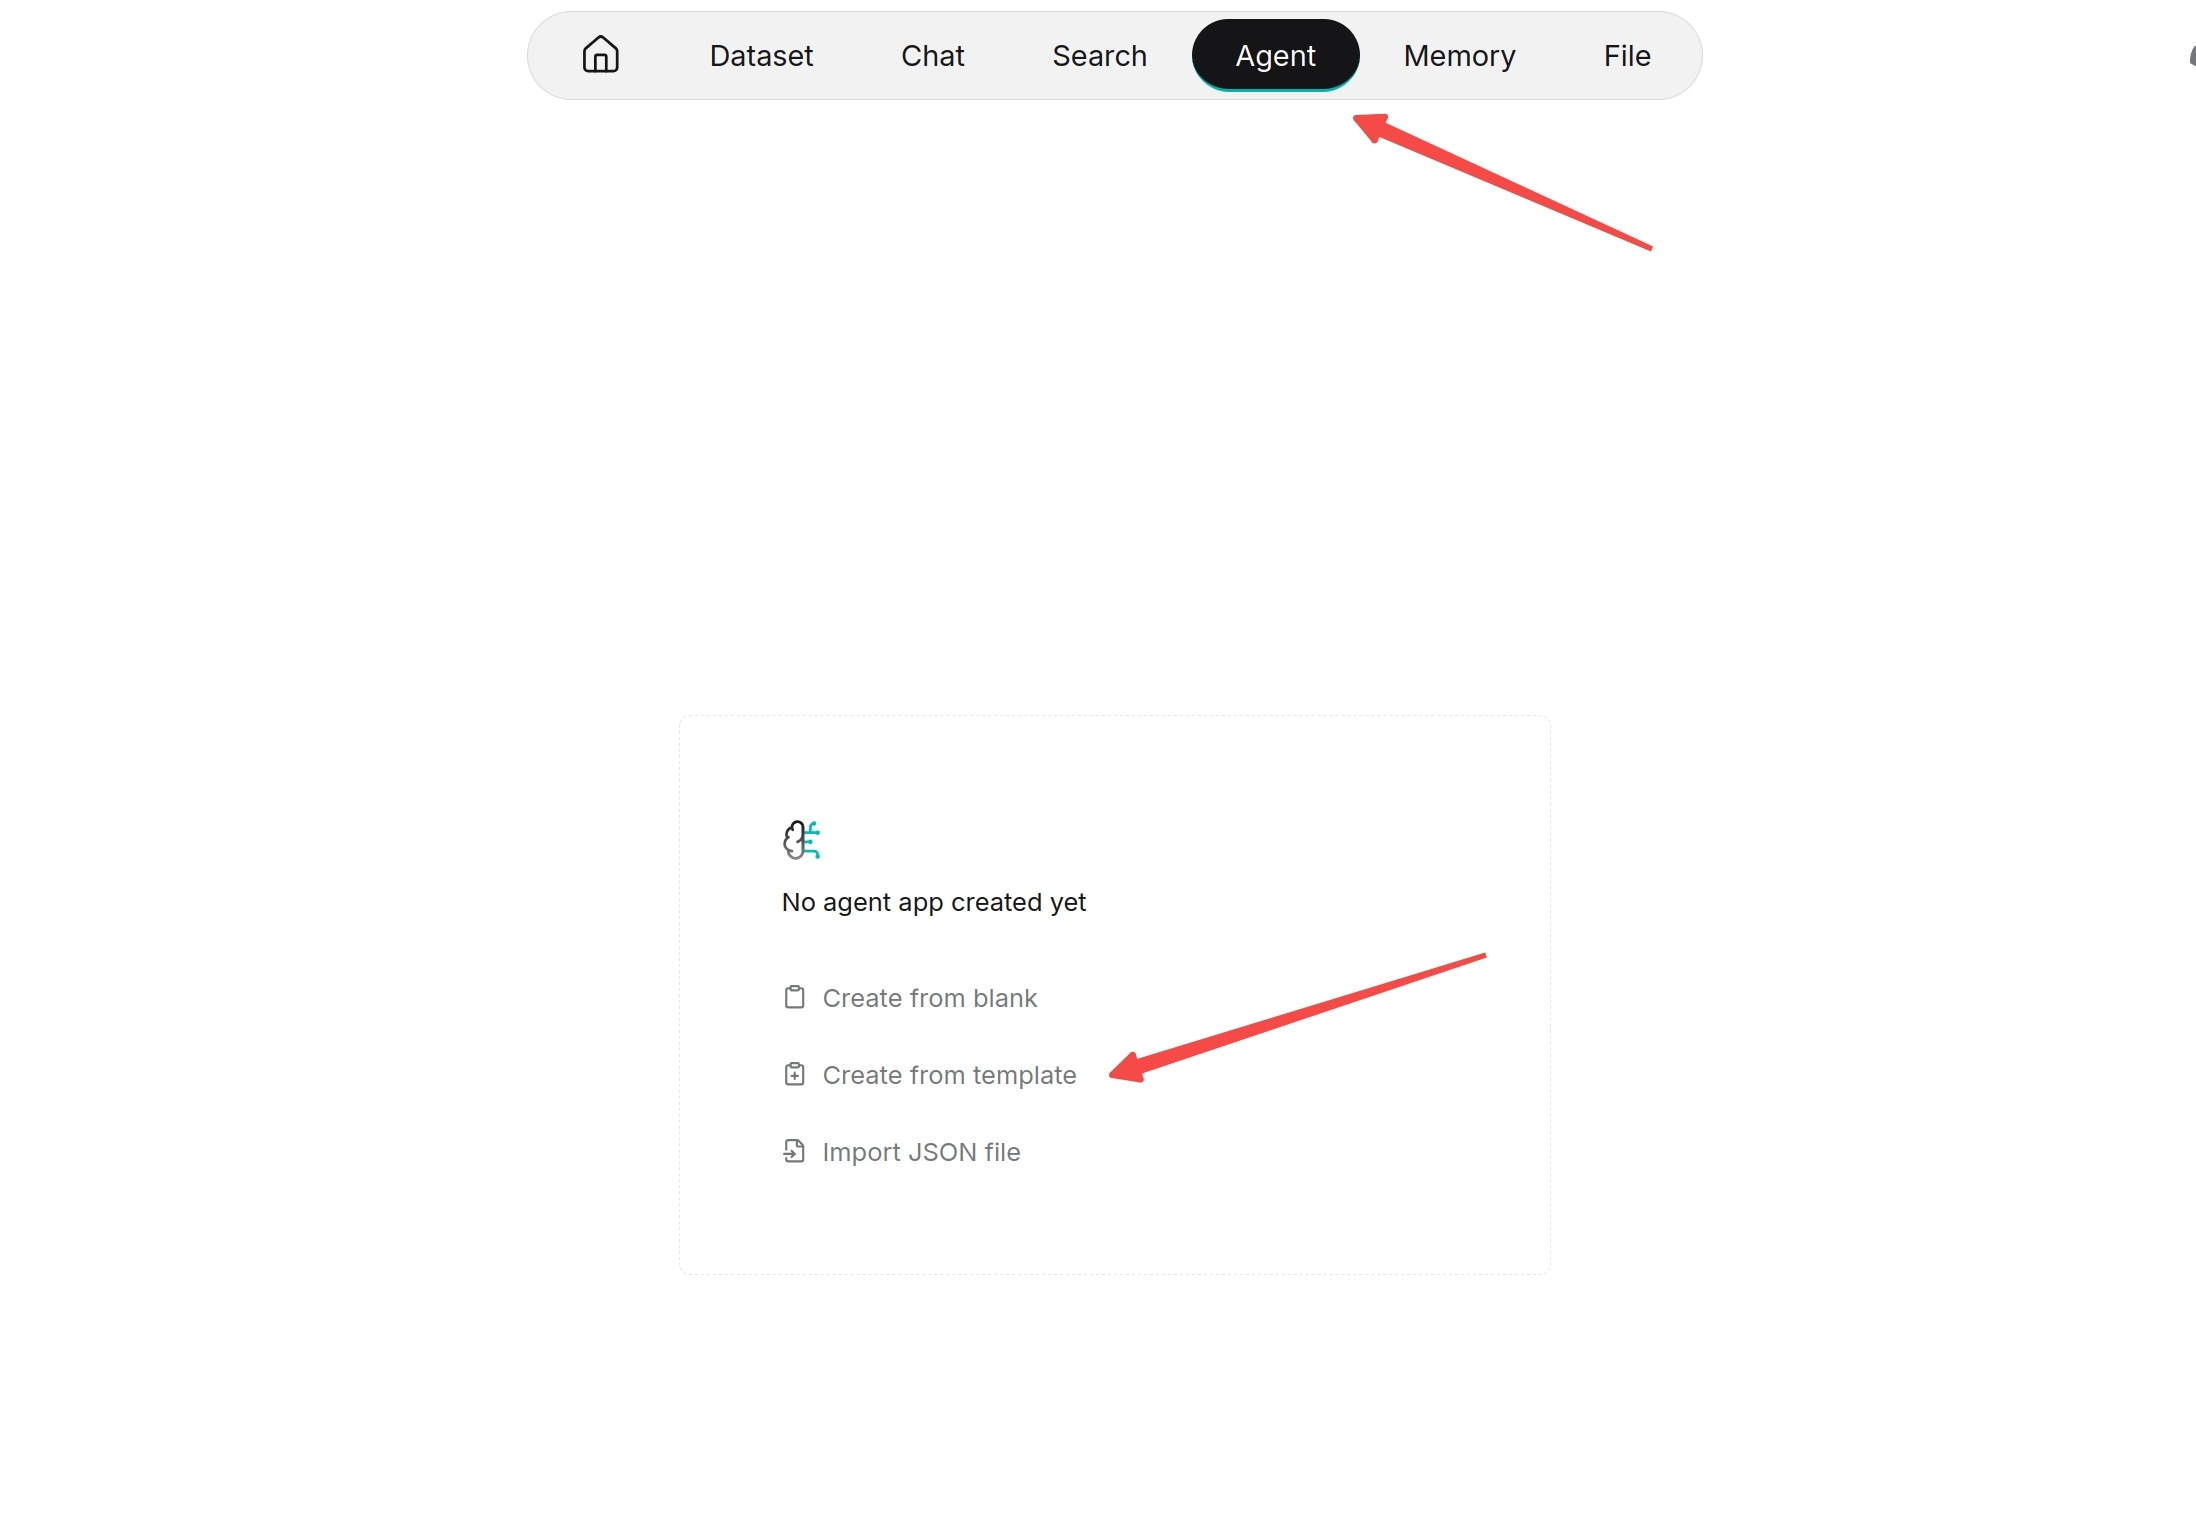
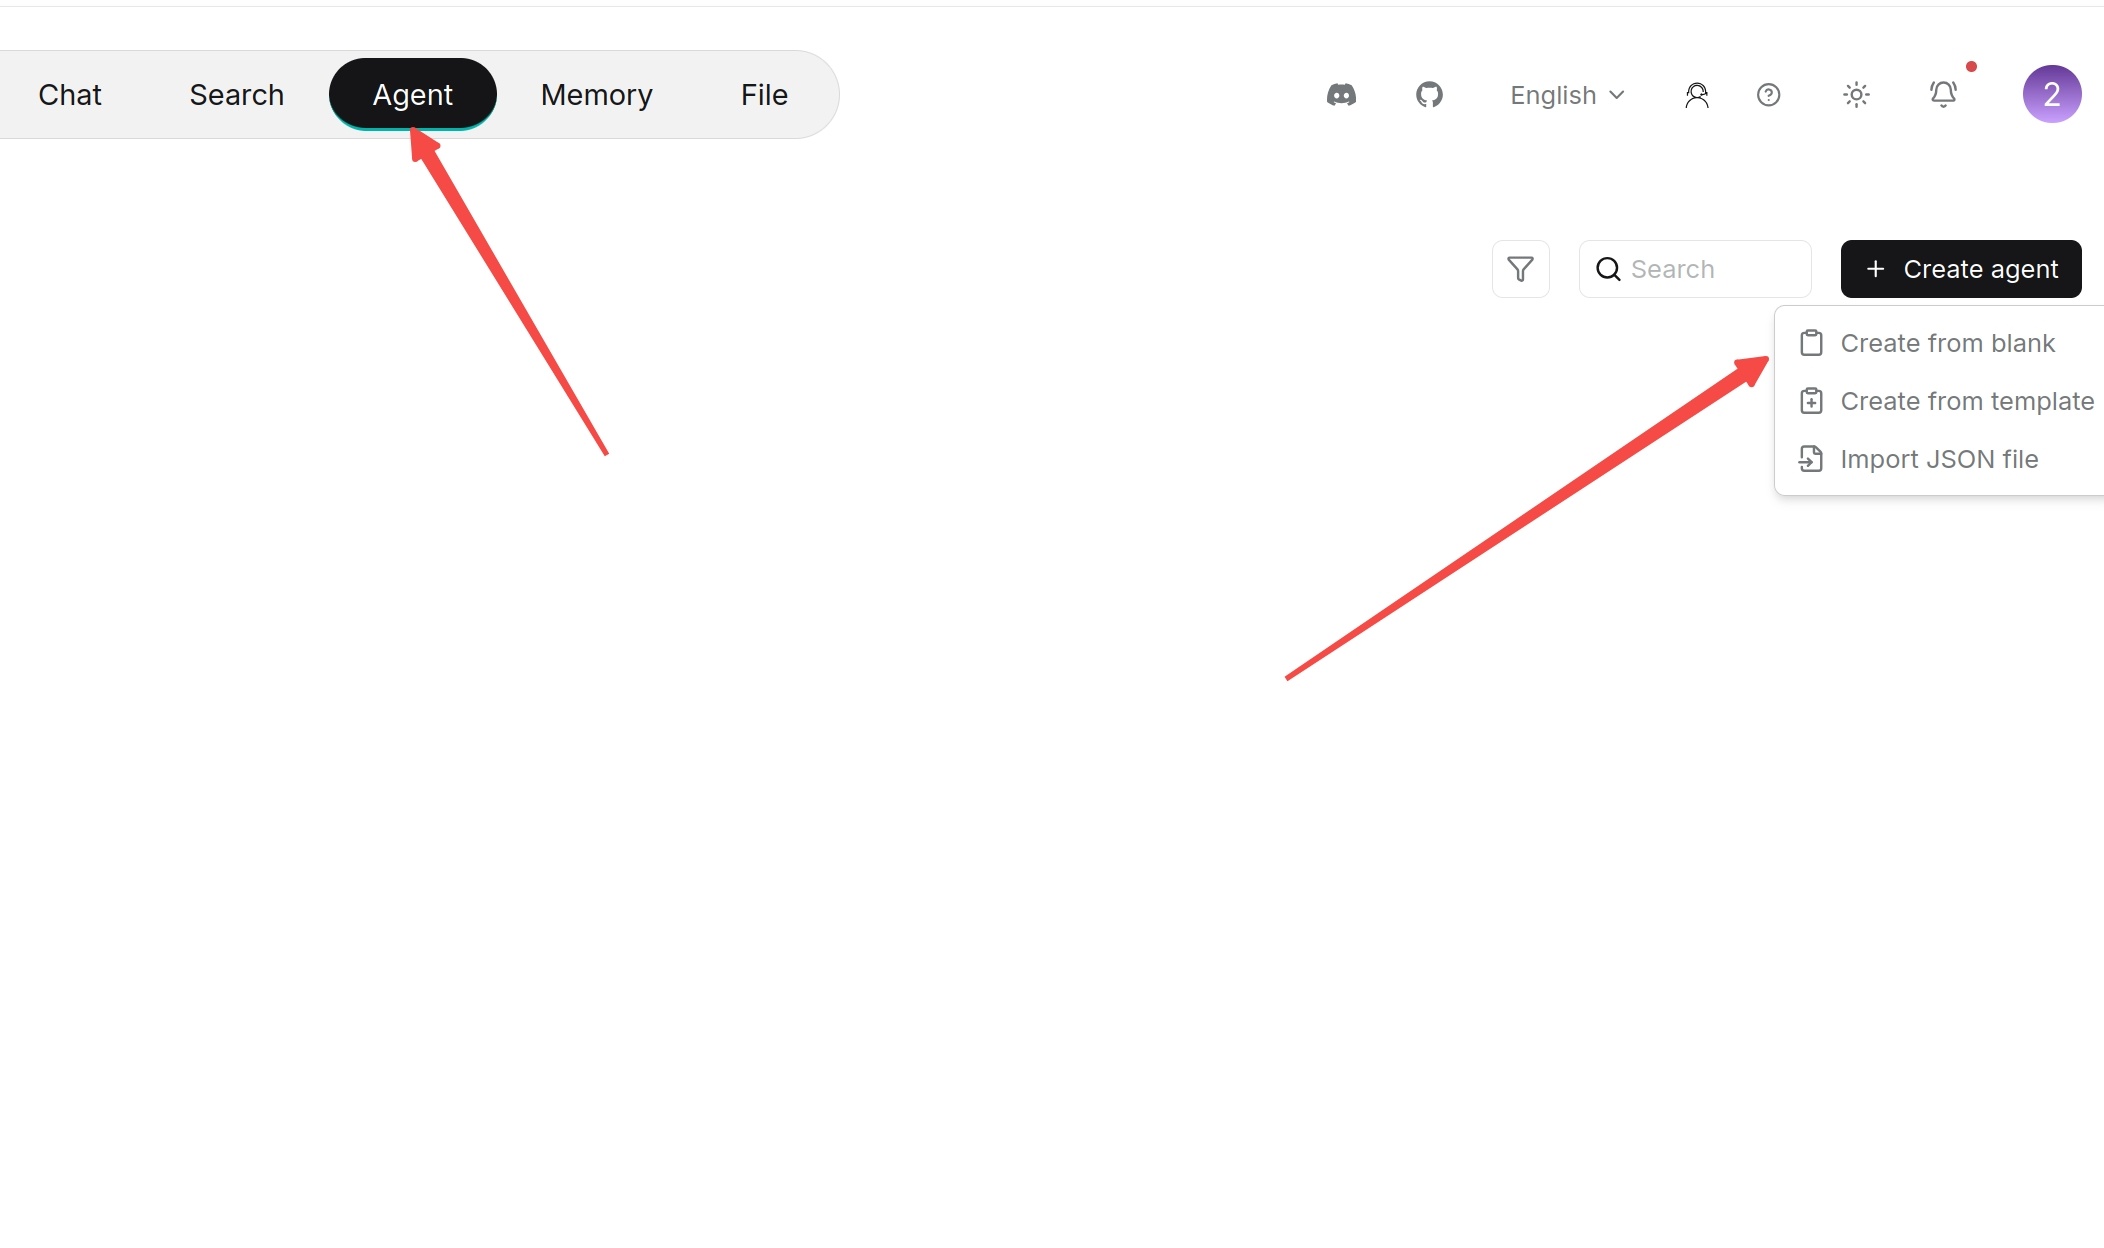
After logging into RAGFlow, click Agent in the top navigation bar to enter the Agent page. Created Agents are displayed as cards. Click an existing card to continue editing; click the creation entry to create a new Agent.
Create from Template
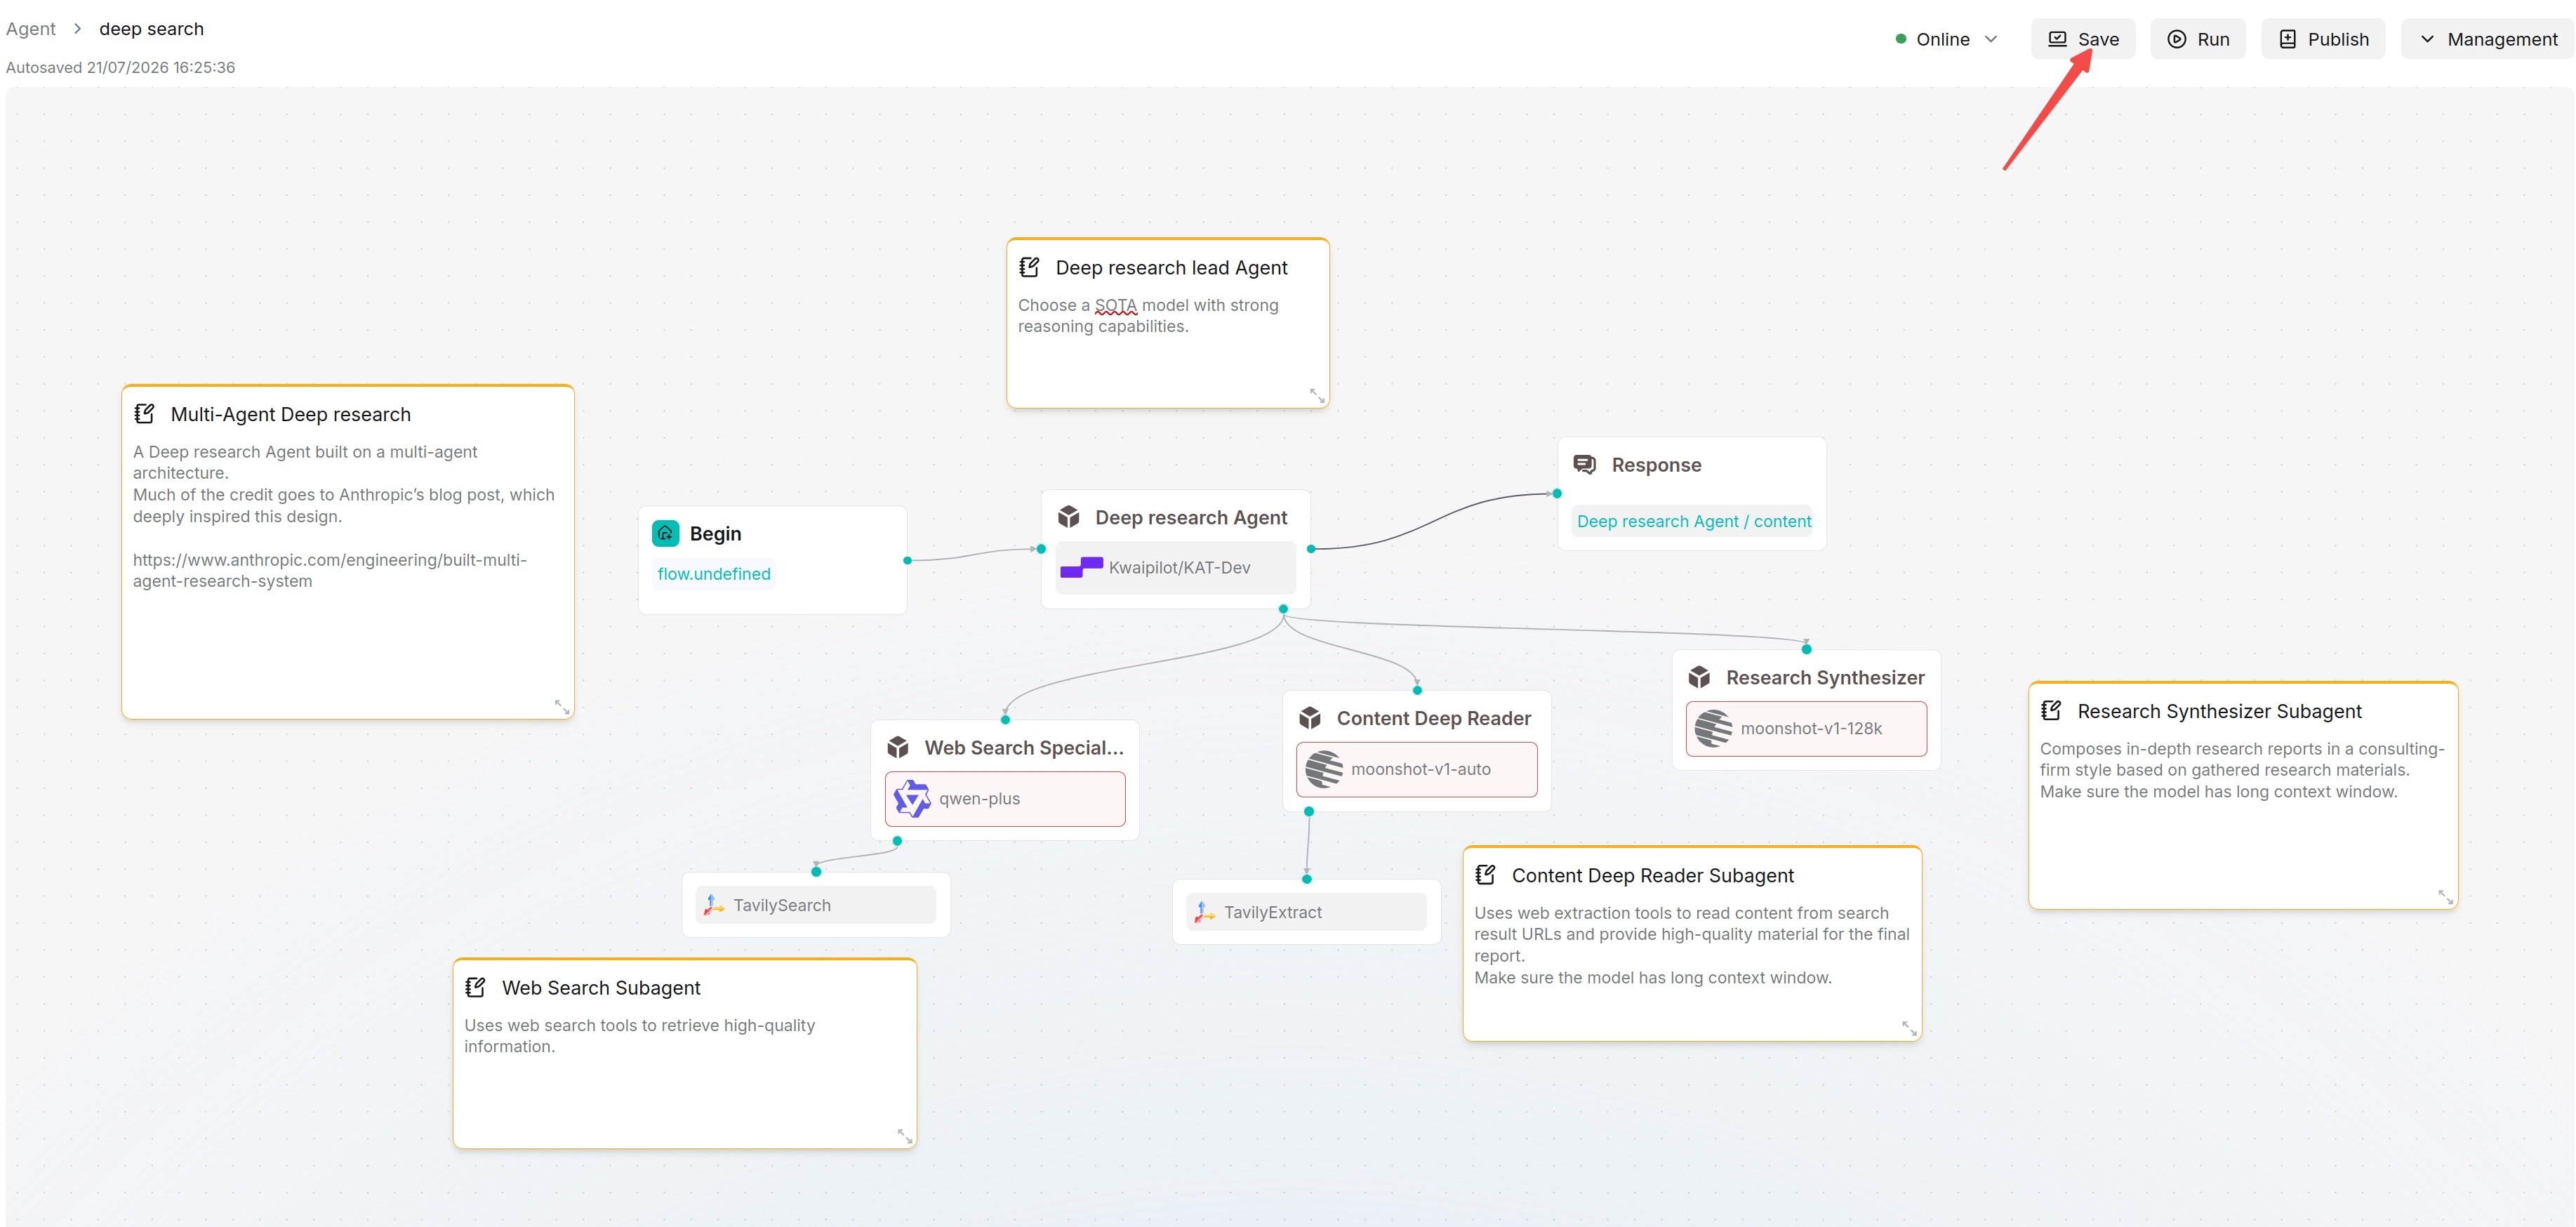
RAGFlow provides Agent templates for different business scenarios. When creating from a template, the system presets common components and connections. Users only need to modify models, knowledge bases, prompts, interface addresses or output content.
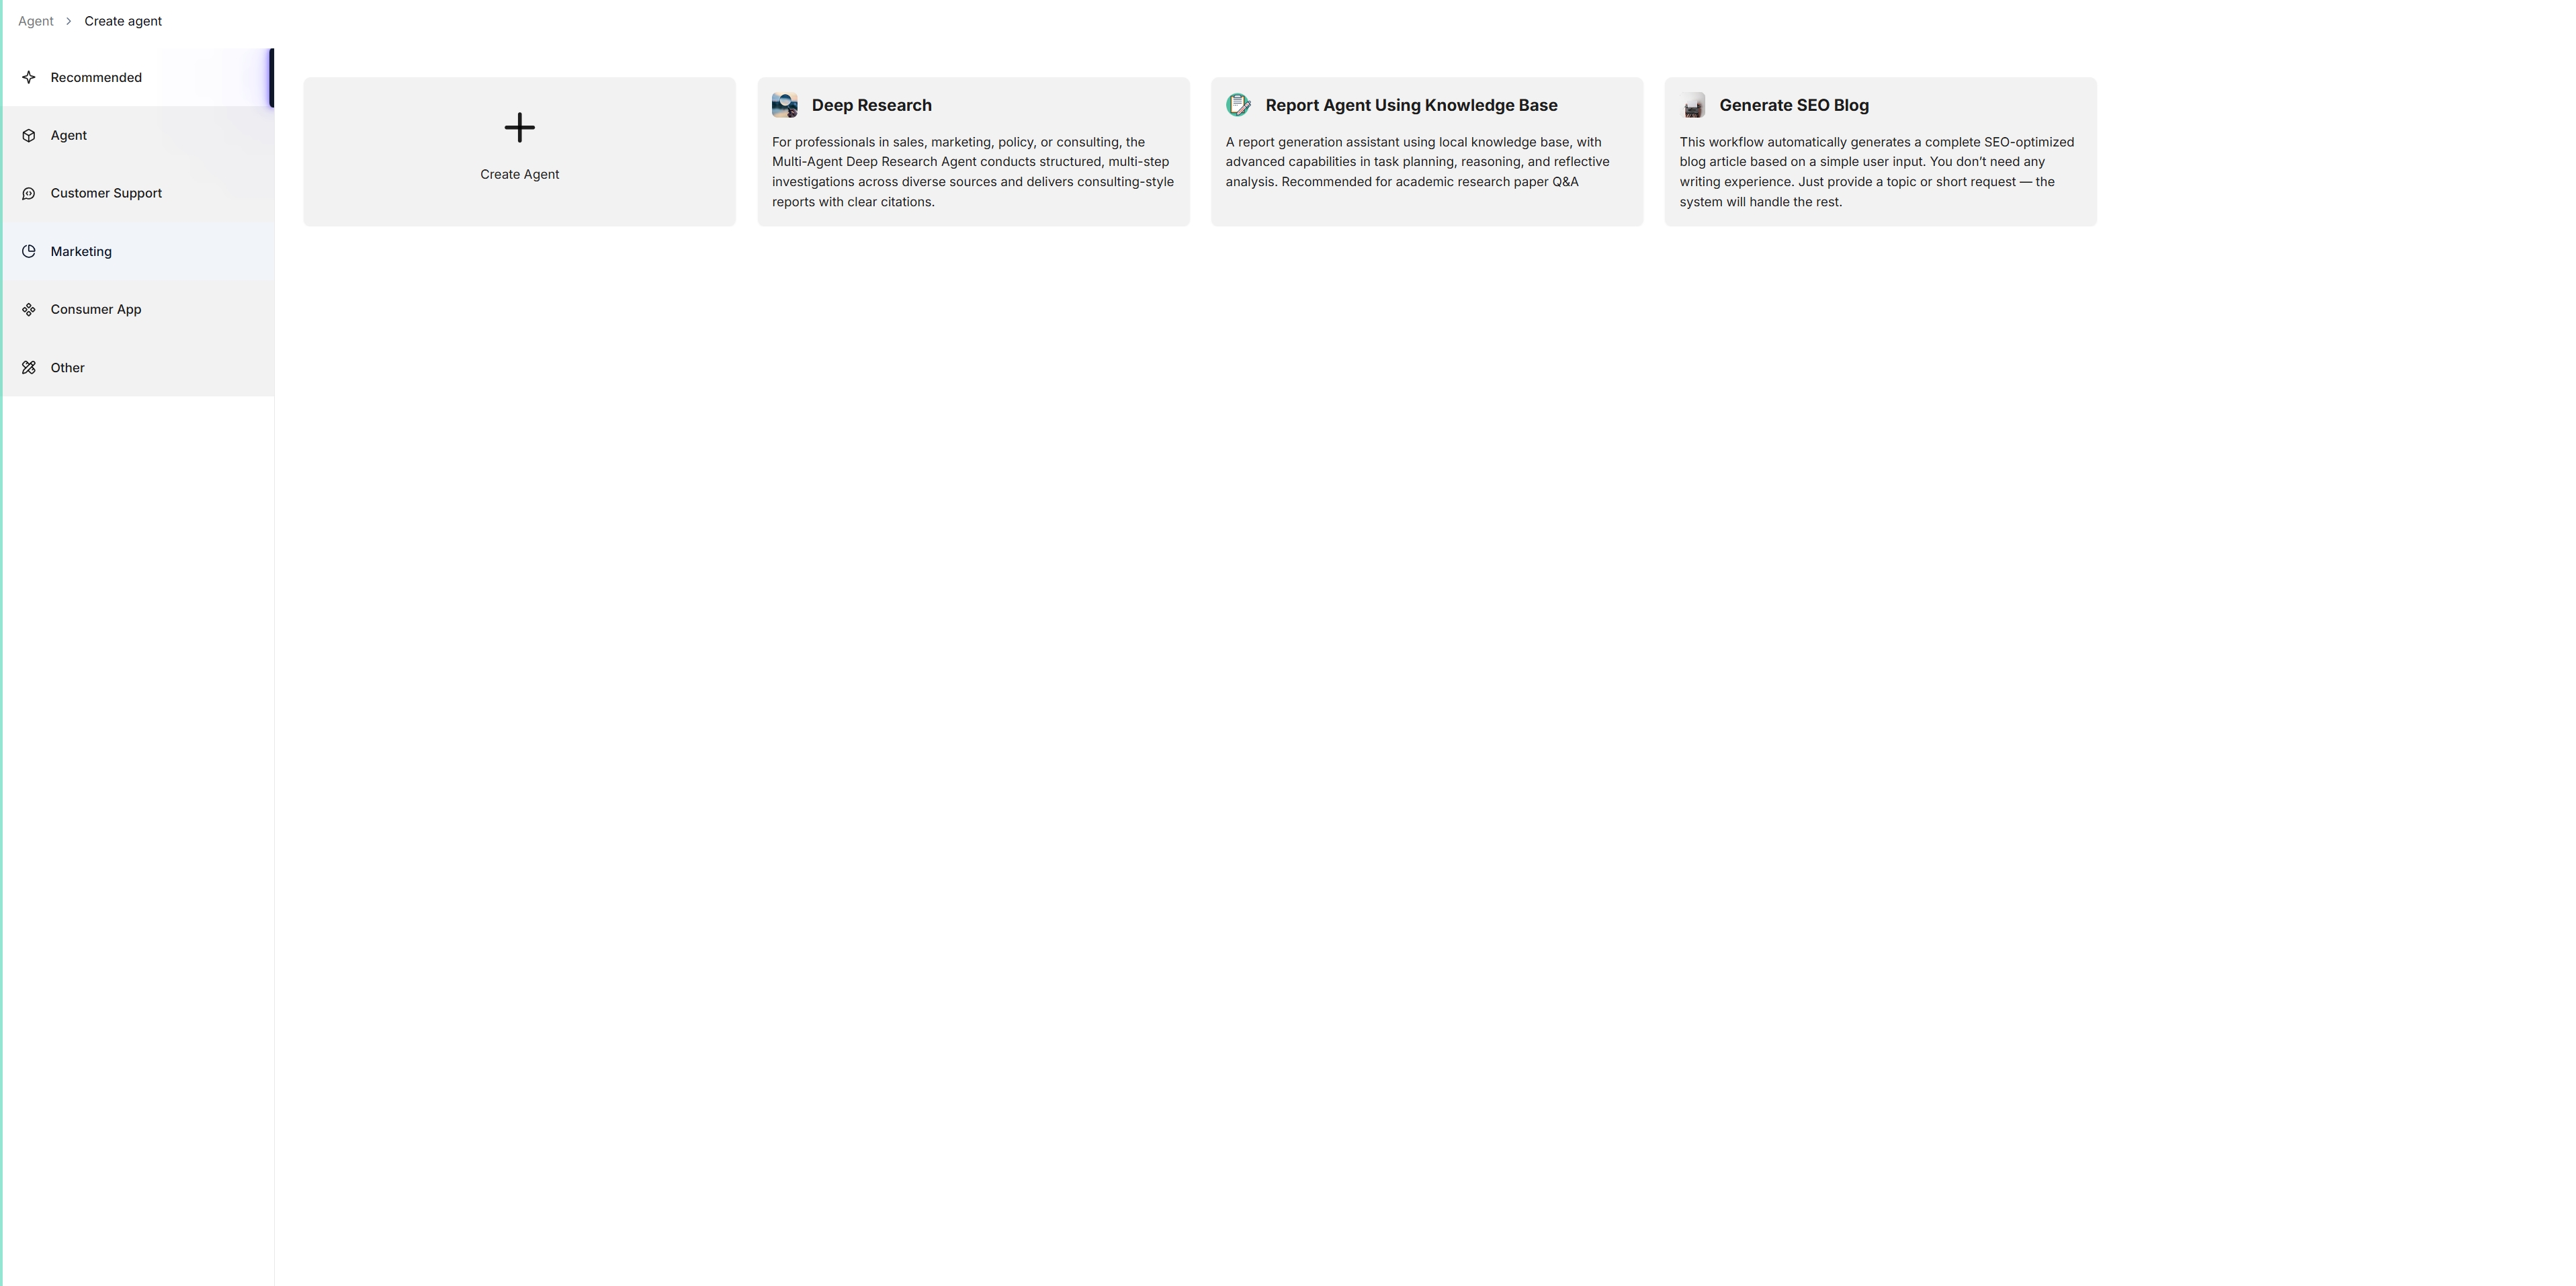
Steps:
- Enter the Agent page.
- Click Create agent.
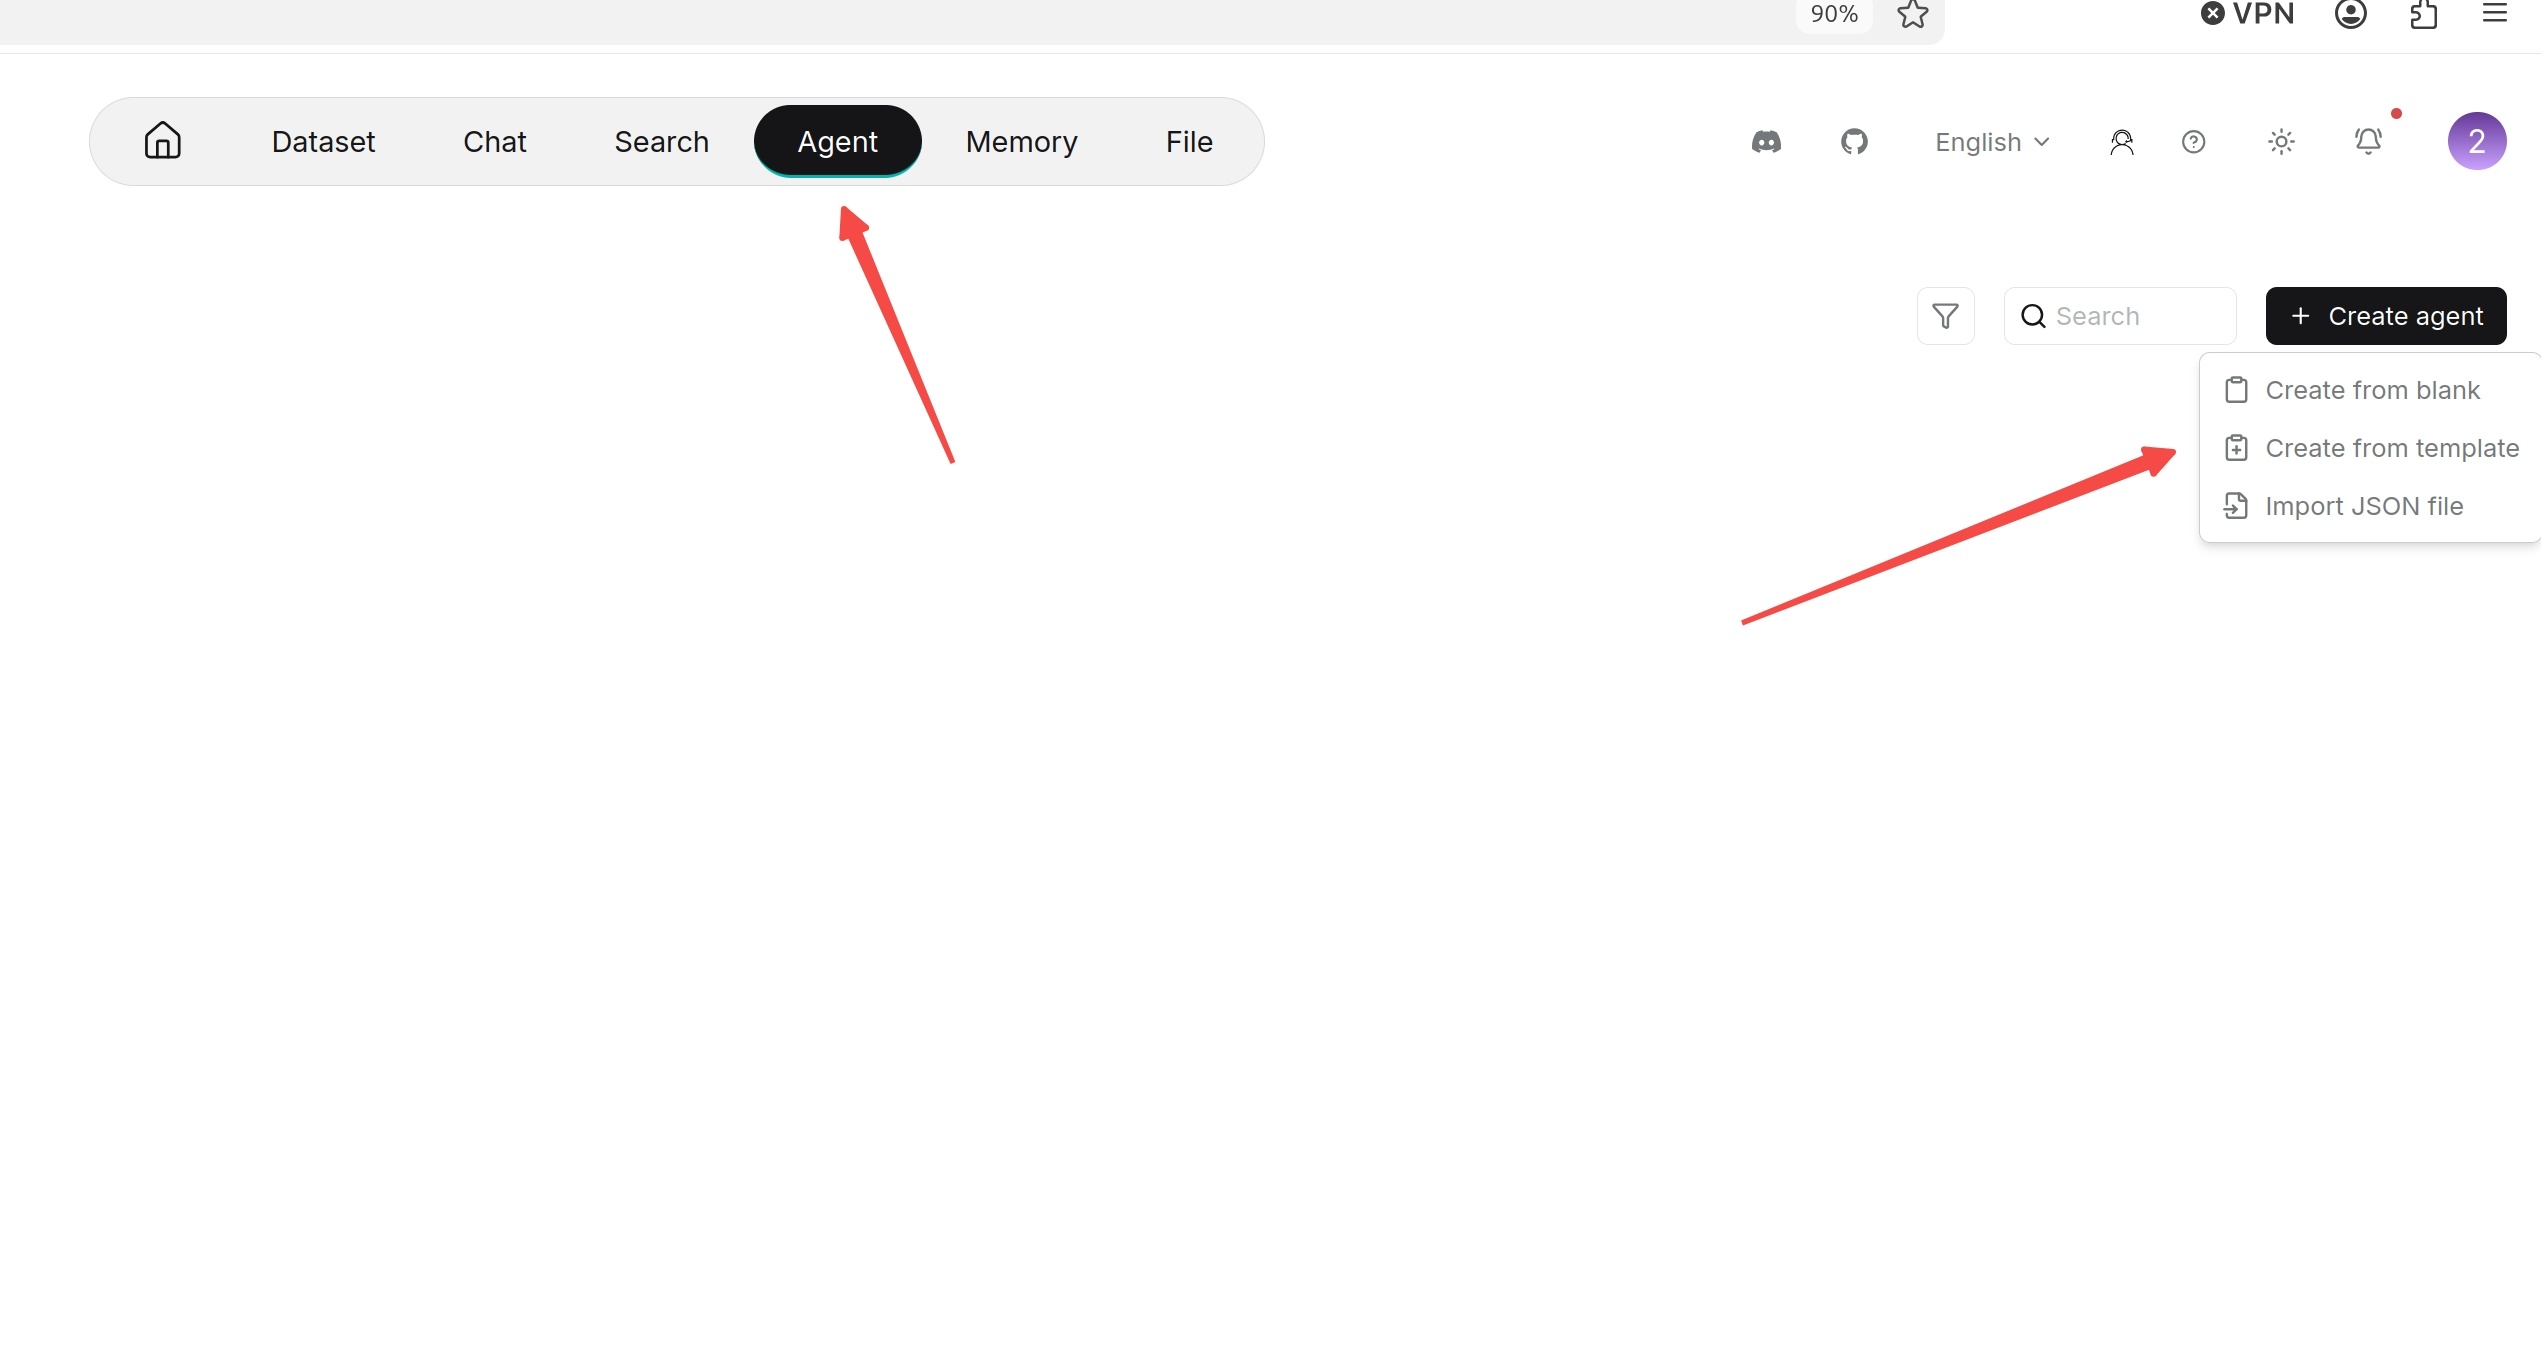 3. Select an appropriate template on the template page, such as Deep Research, Knowledge Base Q&A, Data Analysis or E-commerce Customer Service template.
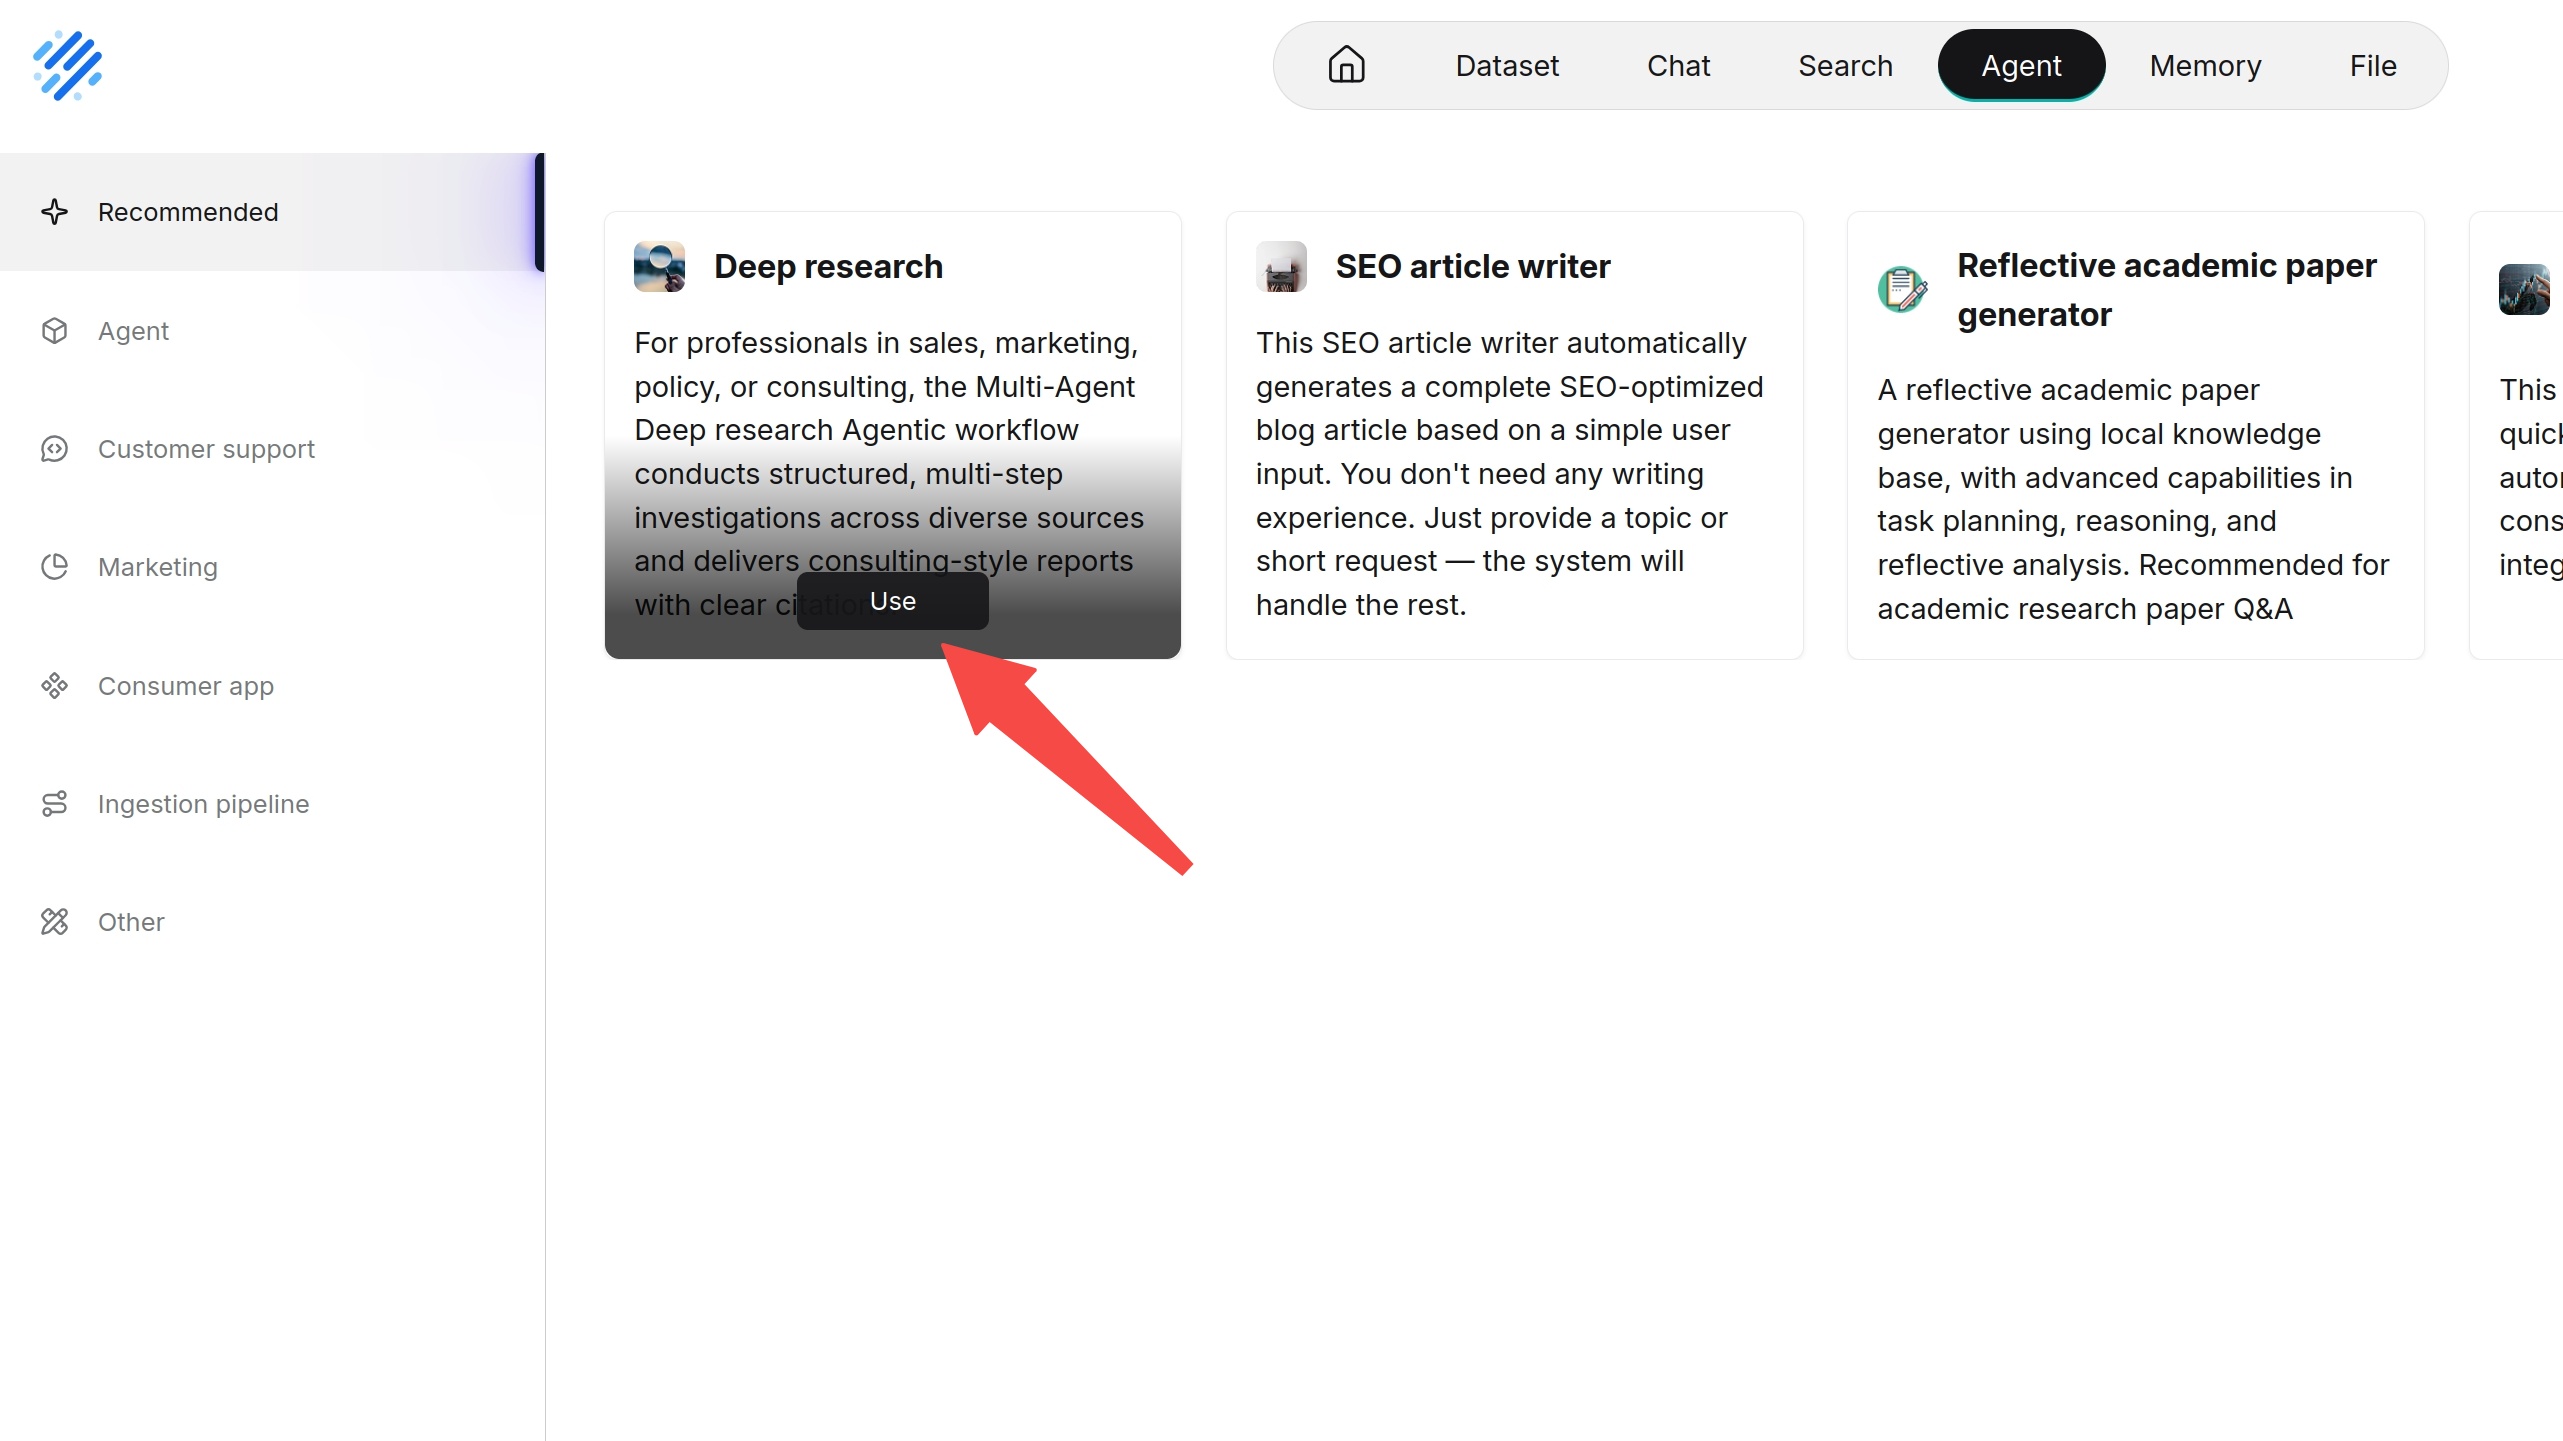 4. Enter the Agent name.
5. Click OK.
4. Enter the Agent name.
5. Click OK.
 6. After entering the canvas, check the configuration of each component and save.
Create from Blank Agent
When creating a blank Agent, the canvas contains a default Begin component. Users can click the plus sign next to the Begin component or other components to add downstream components.
Steps:
- Enter the Agent page.
- Click Create agent.
- Select blank creation.
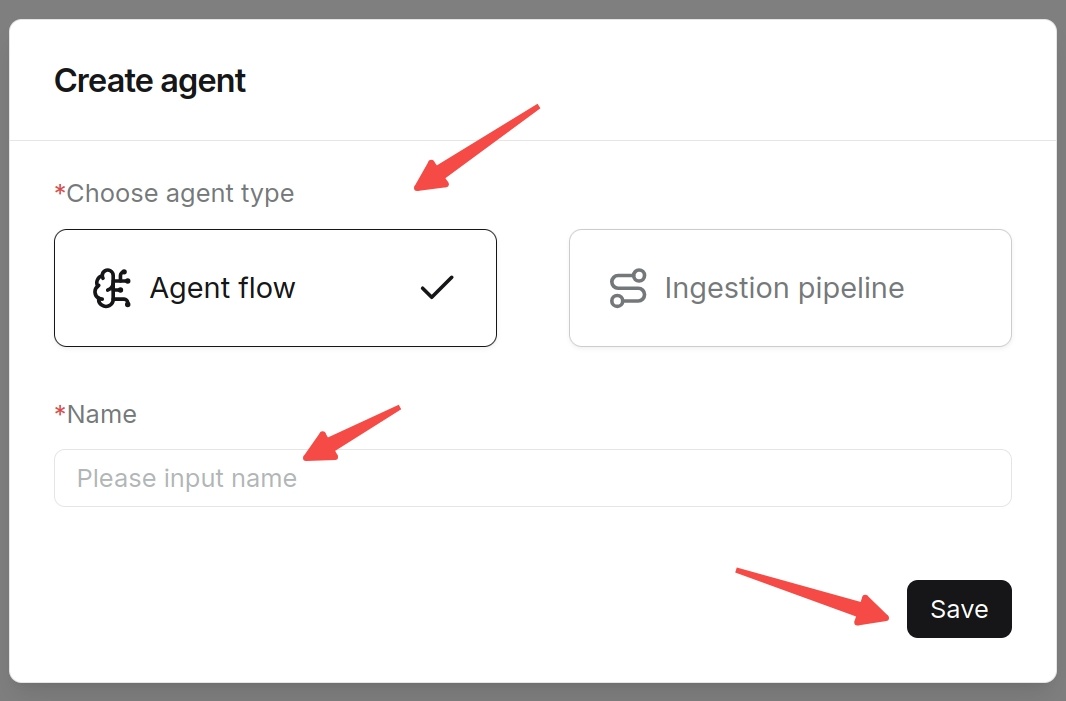
 4. Enter the Agent name and select the agent type.
 5. Enter the canvas.
6. Click the plus sign next to the
5. Enter the canvas.
6. Click the plus sign next to the Begin component, and add components according to business processes.
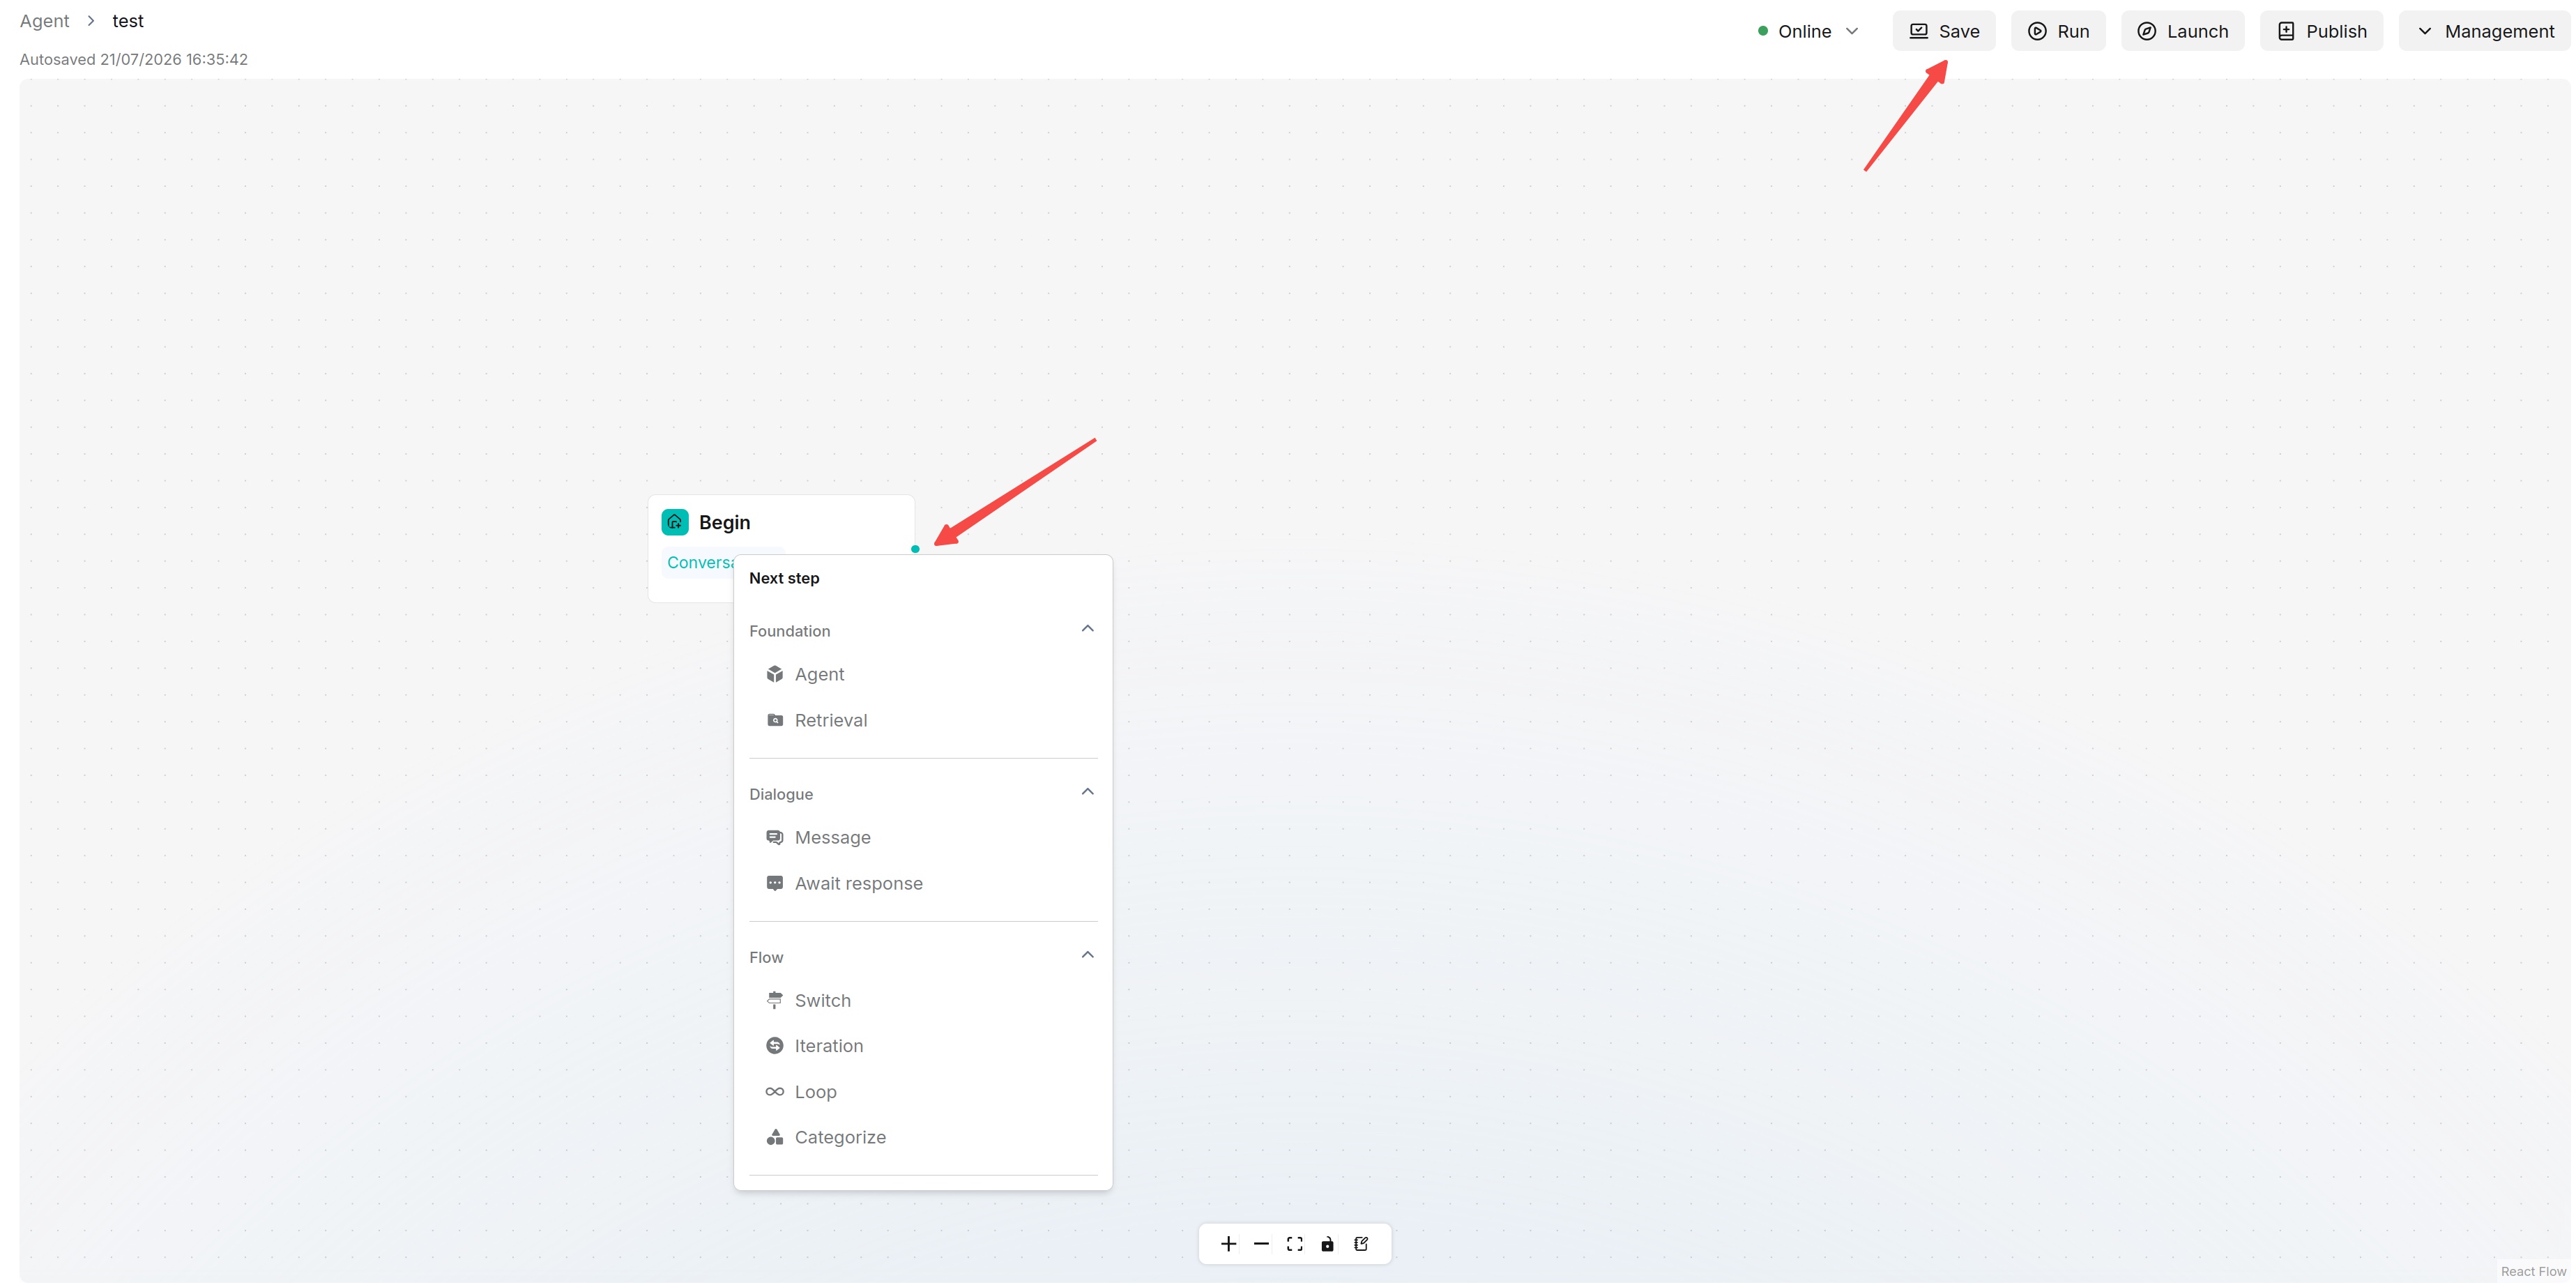 7. Configure each component.
8. Click Save.
7. Configure each component.
8. Click Save.
:::tip NOTE
The Begin component is the start of the workflow. Each Agent can only have one Begin component and it cannot be deleted. After creation, configure Begin first, then configure subsequent components.
:::
Search, Copy and Delete Agent
In the Agent list, you can search for target Agents by name. If copy, delete or other operation entries are available on the interface, confirm the Agent name and permission scope before operation. Deletion is usually irreversible. Please confirm whether the Agent is referenced by embedded web pages, API calls or other workflows.
Save Agent
Click Save in time after editing the canvas. Saving only records the current configuration. Whether it immediately affects published or embedded Agents depends on the version publishing mechanism and deployment strategy. Re-run tests before external usage.